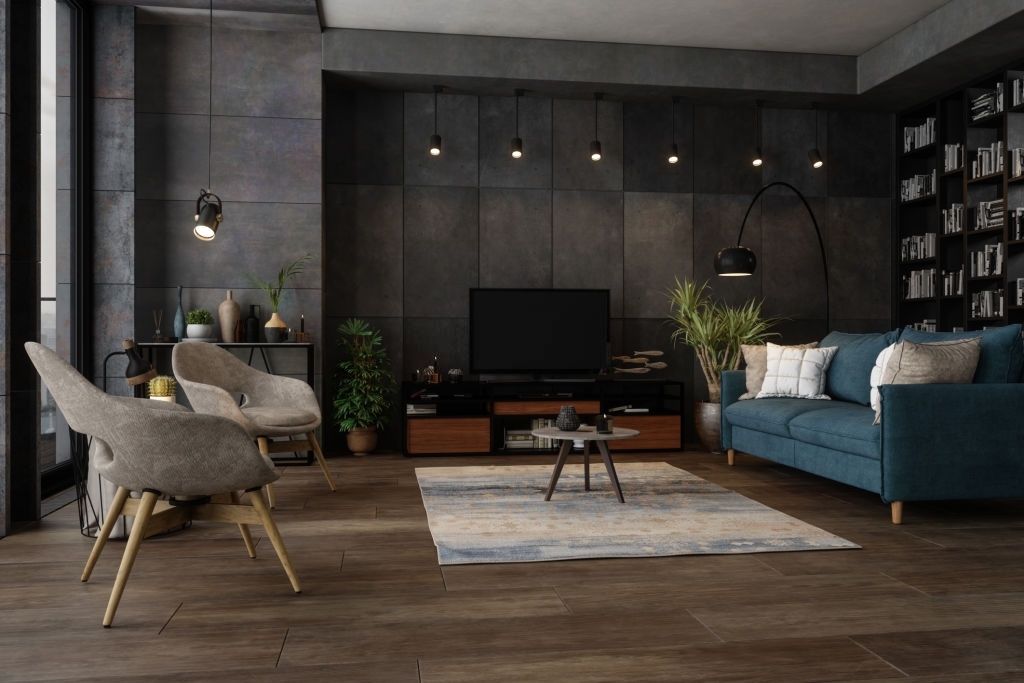
Hardwood floors are beautiful and can be a showpiece in your home. But after years of wear and tear hardwood flooring may need refinishing or even replacement altogether. Refinishing will give it a fresh new shine that smells amazing! It also restores the original color and texture.The process is much faster than replacement, saving time and money while giving you peace of mind knowing that your floor will be protected for years to come!
Steps To Refinish Hardwood Floors
Refinishing your hardwood floors can be a hit or miss thing when it comes to the final look of the floors. If you do not have the proper skills, equipment, and knowledge in how and what products to use in refinishing will most likely lead to unsatisfactory results.
Step 1: Prepare The Floor
Prepare the floors by cleaning the dust and dirt off with a vacuum and mop. This is a must before you start any project or else you would have to deal with excess dust that can cause problems later on in the refinishing process. Make sure to get down in all of the cracks; make it another habit to clean your hardwood floors on a regular basis.
Step 2: Pull Up the Shoe Base Moulding
Before you start sanding the hardwood floors, remove all of the shoe base moulding from around the room. You can remove it with a screwdriver and hammer by prying out any nails that are holding them in place. It will also help if you have a nail set to use on any stubborn nails that do not want to come out.
Step 3: Rough-Sand The Floor
Once you have cleared away all of the shoe base moulding and removed any nails, rough sand the floor. You will want to use a 50 grit sandpaper that can remove paint and varnishes that are on the floor. Make sure to get in all of the cracks and crevices so that you can ensure a smooth surface.
Step 4: Sand the Edges and Corners
After you have rough sanded, you will want to go back over to the floor with a 150 grit sandpaper and smooth out all of the cracks and crevices around the edges and corners of the room. This will help remove any splinters or small pieces that are left on the edges after removing molding.
Step 5: Screen Sand The Floor
After you have finished the edges and corners, it’s time to sand down all of the screen using a 200 grit sandpaper. This will get rid of any splinters or rough spots that are left on the floor from using a 50 or 150 grit sandpaper. Make sure to use scouring pads along with your sandpaper and apply water to to it it..
Step 6: Remove All Dust And Debris
After you have finished sanding the hardwood floors, it’s time to remove all of the dust and debris from your hard work. You can use a vacuum or shop vac to get most of the dust off of floor. Use a damp towel or cloths for any remaining dust that may be left on the floor.
Step 7: Apply The Wood Stain
After you have removed all of the dust and debris, it’s time to apply a protective coat of wood stain. As I stated before, make sure that you check what type of finish that are on your hardwood floors first before starting this process.
Step 8: Apply the Finish Seal
After you have applied the wood stain, you will want to apply a finish sealer. This will give a protective coating that will protect the hardwood floor keeping it shiny and beautiful for years. Make sure that you read all of the instructions on the can of finish and use accordingly. If any spills or splashes happen during this process, use a clean cloth to wipe it off of the floor immediately.
Step 9: Wash And Mop Your Floor
Last step is to wash down your floors with a clean mop, towel, or sponge and mild detergent/cleaner. It may take some scrubbing but you will want to make sure that you wash down all of the excess wood stain and finish on the floor.
As you can see from this process it doesn’t have to be a task that is hard to do when you prepare yourself for how tedious it can become. Keeping your hardwood floors clean, sanding them down every so often, and washing them will help ensure a long and beautiful life for them.
Conclusion:
Even though this process will take some time to do, it is worth the effort at the end of you see your hardwood floors shine and look marvelous as if they were brand new! Enjoying a job well done is one of the greatest feelings I have when doing crafts like this, so hopefully it will be something you will enjoy as well!
Article Updated:- October 28, 2021
Read More Articles:
=>> How To Install Tile Floor Step By Step
=>> Best Type Of Floor Tiles For Office

